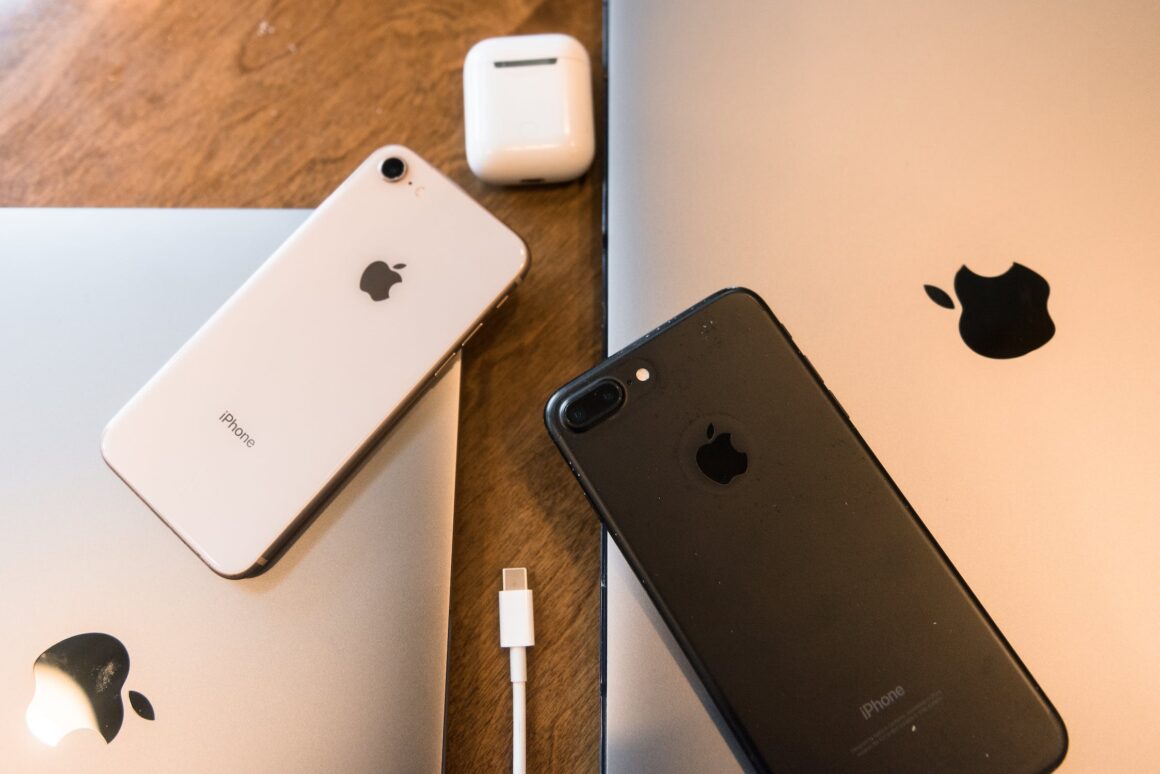
The latest iPhone gets a big step forward in space capability, expanded to 1TB for iPhone 14 Pro and Max series. That being said, your iPhone is still vulnerable to memory insufficiency whether you’re using iPhone to record 1080p 60FPS video or 4K 30FPS clips. A minute of 10-bit HDR ProRes will approximately chew up 6GB of space at 4K resolution, let alone a 60-min video in 4K ProRes codec.
If your iPhone is running out of space because of big files, you can bulk transfer videos from iPhone to Mac for storage to clear storage on your iPhone. To reach this goal, there are a couple of ways to go. This post will demystify the top iPhone video transfer tools, alongside an iPhone video to Mac transfer tutorial for your reference.
MacX MediaTrans
Best for bulk and quick transferring iPhone videos to Mac at GPU hardware accelerated speed.
MacX MediaTrans has almost all the bells and whistles that you expect to find in an iPhone file transfer program. It supports you to bulk copy videos from iPhone to MacBook/iMac, as well as bulk move iPhone photos, music, iBooks, iTunes purchases, etc. to your Mac. Moreover, it eclipses other competitors with its advanced GPU Intel/Nvidia/AMD GPU hardware acceleration tech. Thus, you can get your big or long iPhone 4K videos moved to Mac at the speed of “10 seconds for 10 clips”.
Main Features:
- Two-way sync: backup iPhone files to Mac and transfer files from Mac to iPhone.
- Load any video format and it will auto-convert MKV/VOB/MTS/VP9 to iPhone-supported videos during sync.
- Encrypt your iPhone videos on Mac with password encryption to safeguard your privacy.
- Auto rotate sideways video, reduce large-sized video, manage a music library, mount iPhone as USB drive.
Pros:
- Bulk transfer large video files from iPhone to Mac at GPU-accelerated fast speed.
- Needless to use iTunes, away from iTunes errors.
- A feature-rich iPhone manager with video, music, photos, iBooks, etc. multiple features added.
- Ability to auto convert protected videos/music to MP4/MP3 and encrypt video/music for privacy.
Cons:
- Inability to wirelessly transfer videos from iPhone to Mac.
- Unable to recover your deleted videos from your iPhone yet.
How to Bulk Transfer Videos from iPhone to Mac with MacX MediaTrans
Step 1. Connect your iPhone to your Mac with a USB cable and then disable iTunes Auto Sync by following the instructions on the prompted window.
Note: turning off iTunes sync is optional, but it is suggested you do it to keep your iPhone data from getting erased.
Step 2. Click the “Video” button on the main interface to open the Video window.
Step 3. On the left side of the Video window, all the video contents on your iPhone show up, covering Video Recorded, TV Shows, Movies, Music, Video and more. Click the type of video, and select the video files you want to transfer from iPhone to Mac from the list.
Step 4. Click the “Export” button at the top menu bar. Then the videos will be transferred from your iPhone to MacBook, iMac or Mac Studio in a flash.
Photos App
Best for syncing videos from iPhone to Mac without using any 3rd party application.
If you don’t want any 3rd party program installed on your Mac, you can resort to the built-in Photos app. With an original USB cable, you’re able to connect your iPhone to MacBook or iMac and then transfer 4K or big videos from iPhone to Mac to save more space for your iPhone.
Main Features:
- Backup iPhone videos to Mac and iPhone photos to Mac.
- Sync videos and photos from Mac to iPhone, as well.
- Manage your iPhone video library like delete, sort by date/name, etc.
Pros:
- Easy to use.
- No software installation is needed.
Cons:
- Speed leaves too much to be desired.
- Features limited to only videos and photos.
How to Free Backup Videos from iPhone to Mac with Photos App
Step 1. Plug your iPhone into your Mac via a USB cable.
Step 2. Launch Photos if it doesn’t automatically show up.
Step 3. Click on your iPhone in the sidebar (left side of Photos).
Step 4. Click “Import All New Videos” or click on desired videos and “Import Selected.”
Step 5. Your newly imported videos are now on your Mac.
iCloud Photos
Best for backing up iPhone videos to Mac wirelessly without any cables.
For those who prefer wireless iPhone video sync, iCloud Photos is seemingly the best option. By enabling iCloud Photos on both your iPhone and Mac, you can sync videos from iPhone to MacBook, Mac Mini/Studio or iMac without using a USB cable.
The only downside is the free but limited 5 GB storage shared by all files on iCloud. Thus, you need to make sure there is enough storage in iCloud for you to save your iPhone 4K/1080p videos. If not, free up iCloud space or expand iCloud capability by paying for extra storage. Afterwards, have iCloud Photos enabled on both your iPhone and Mac to transfer iPhone videos then.
Main Features:
- Automatically keep every photo and video you take in iCloud.
- Allow you to access your video library on any Apple device.
- Organize your videos and photos by Years, Months, and Days.
Pros:
- Wirelessly transfer videos from iPhone to Mac.
- Access video library without device or geography limits.
Cons:
- Free cloud space is quite limited.
- No auto video converting, or compressing features.
How to Wirelessly Transfer iPhone Videos to Mac via iCloud Photos
Step 1. Open Settings on your iPhone > scroll down to tap Photos.
Step 2. Enable iCloud Photos if it’s disabled.
Step 3. Run the Photos app on your Mac.
Step 4. Find Preferences from the menu on the Photos app.
Step 5. Click iCloud > opt for the checkbox on iCloud Photos to enable it. Now you can view all the iPhone videos in iCloud on your Mac and download videos from iCloud to Mac for storage.
Conclusion
Each iPhone video transfer tool has its benefits and drawbacks, but this article should act as guidance to help you choose the best one for your needs. Be sure to use MacXDVD’s helpful tutorials and help guides for if you need extra help and you can always reach out to their support department.


