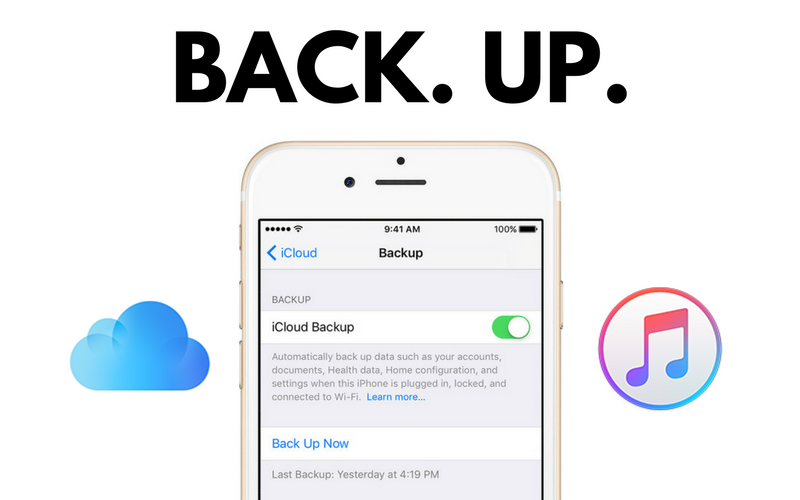
As we all prepare for iOS 12 (assuming your device will run iOS 12), we have all heard the following saying: it is good to start fresh when updating to a brand-new version of the OS.
Well today I am going to show you exactly how to do that. There are 2 methods, however one is easier than the other. One is by backing up via iCloud. The second (and more time consuming) method is to backup via iTunes.
Via iTunes
Let’s talk about the iTunes method first. Connect your Apple Device to your computer. Make sure you unlock your device before you hit the ‘Back Up’ button. Once iTunes is launched click on the icon that resembles an iPhone.
Â
It will direct you to the back up page which will display information about your device. E.g. your serial number, the storage available, etc. Then click on the ‘Back Up’ button. It is up to you to backup to your iCloud account through iTunes. You can also store the backup on your computer. Once again, make sure you unlock your device before you hit the ‘Back Up’ button.
Â
Via iCloud
It is easier via iCloud but takes more steps to set up. Make sure you are logged on to your Apple ID on your device. Go to Settings. Click on your Profile at the top. Click on iCloud. Slide down until you see the tab ‘iCloud Backup’. Click on that. Enable iCloud Backup. Now you should be good to go. You can manually back up your device. Or you can let it do it automatically. What will happen is that your device will automatically back up while being connected to power, e.g. at night.
Via DearMob iPhone Manager
Say no to iTunes and iCloud limits, DearMob iPhone Manager can simplify the way you import, export, and manage iDevices with custom options and no data erasing.

For instance, transferring photos from iPhone to computer only takes a few steps. Launch DearMob iPhone Manager, connect your device with USB or WIFI, select photos you want to transfer, click Export, then it will start to transfer immediately.
I hope this helped! If you have any further questions or comments, feel free to leave them below!


